Installing retaining wall cap helps finish off your retaining wall project. It takes a little skill and attention to detail to make your project look like a professionally completed job. Once you have properly installed your retaining wall, now you can tackle the task of finishing off your wall. By all accounts, the most important part in installing retaining wall cap is to make sure your wall was installed correctly. If your wall is not level and has blocks that are heaved, your wall will not cap properly. Capping an incorrect wall will just magnify the already growing problem. If you have finished your wall correctly and it is level, you can now follow the steps below to install your cap properly. If not, go back and fix your wall before continuing with the process of capping your wall.

Installing retaining wall cap step by step.
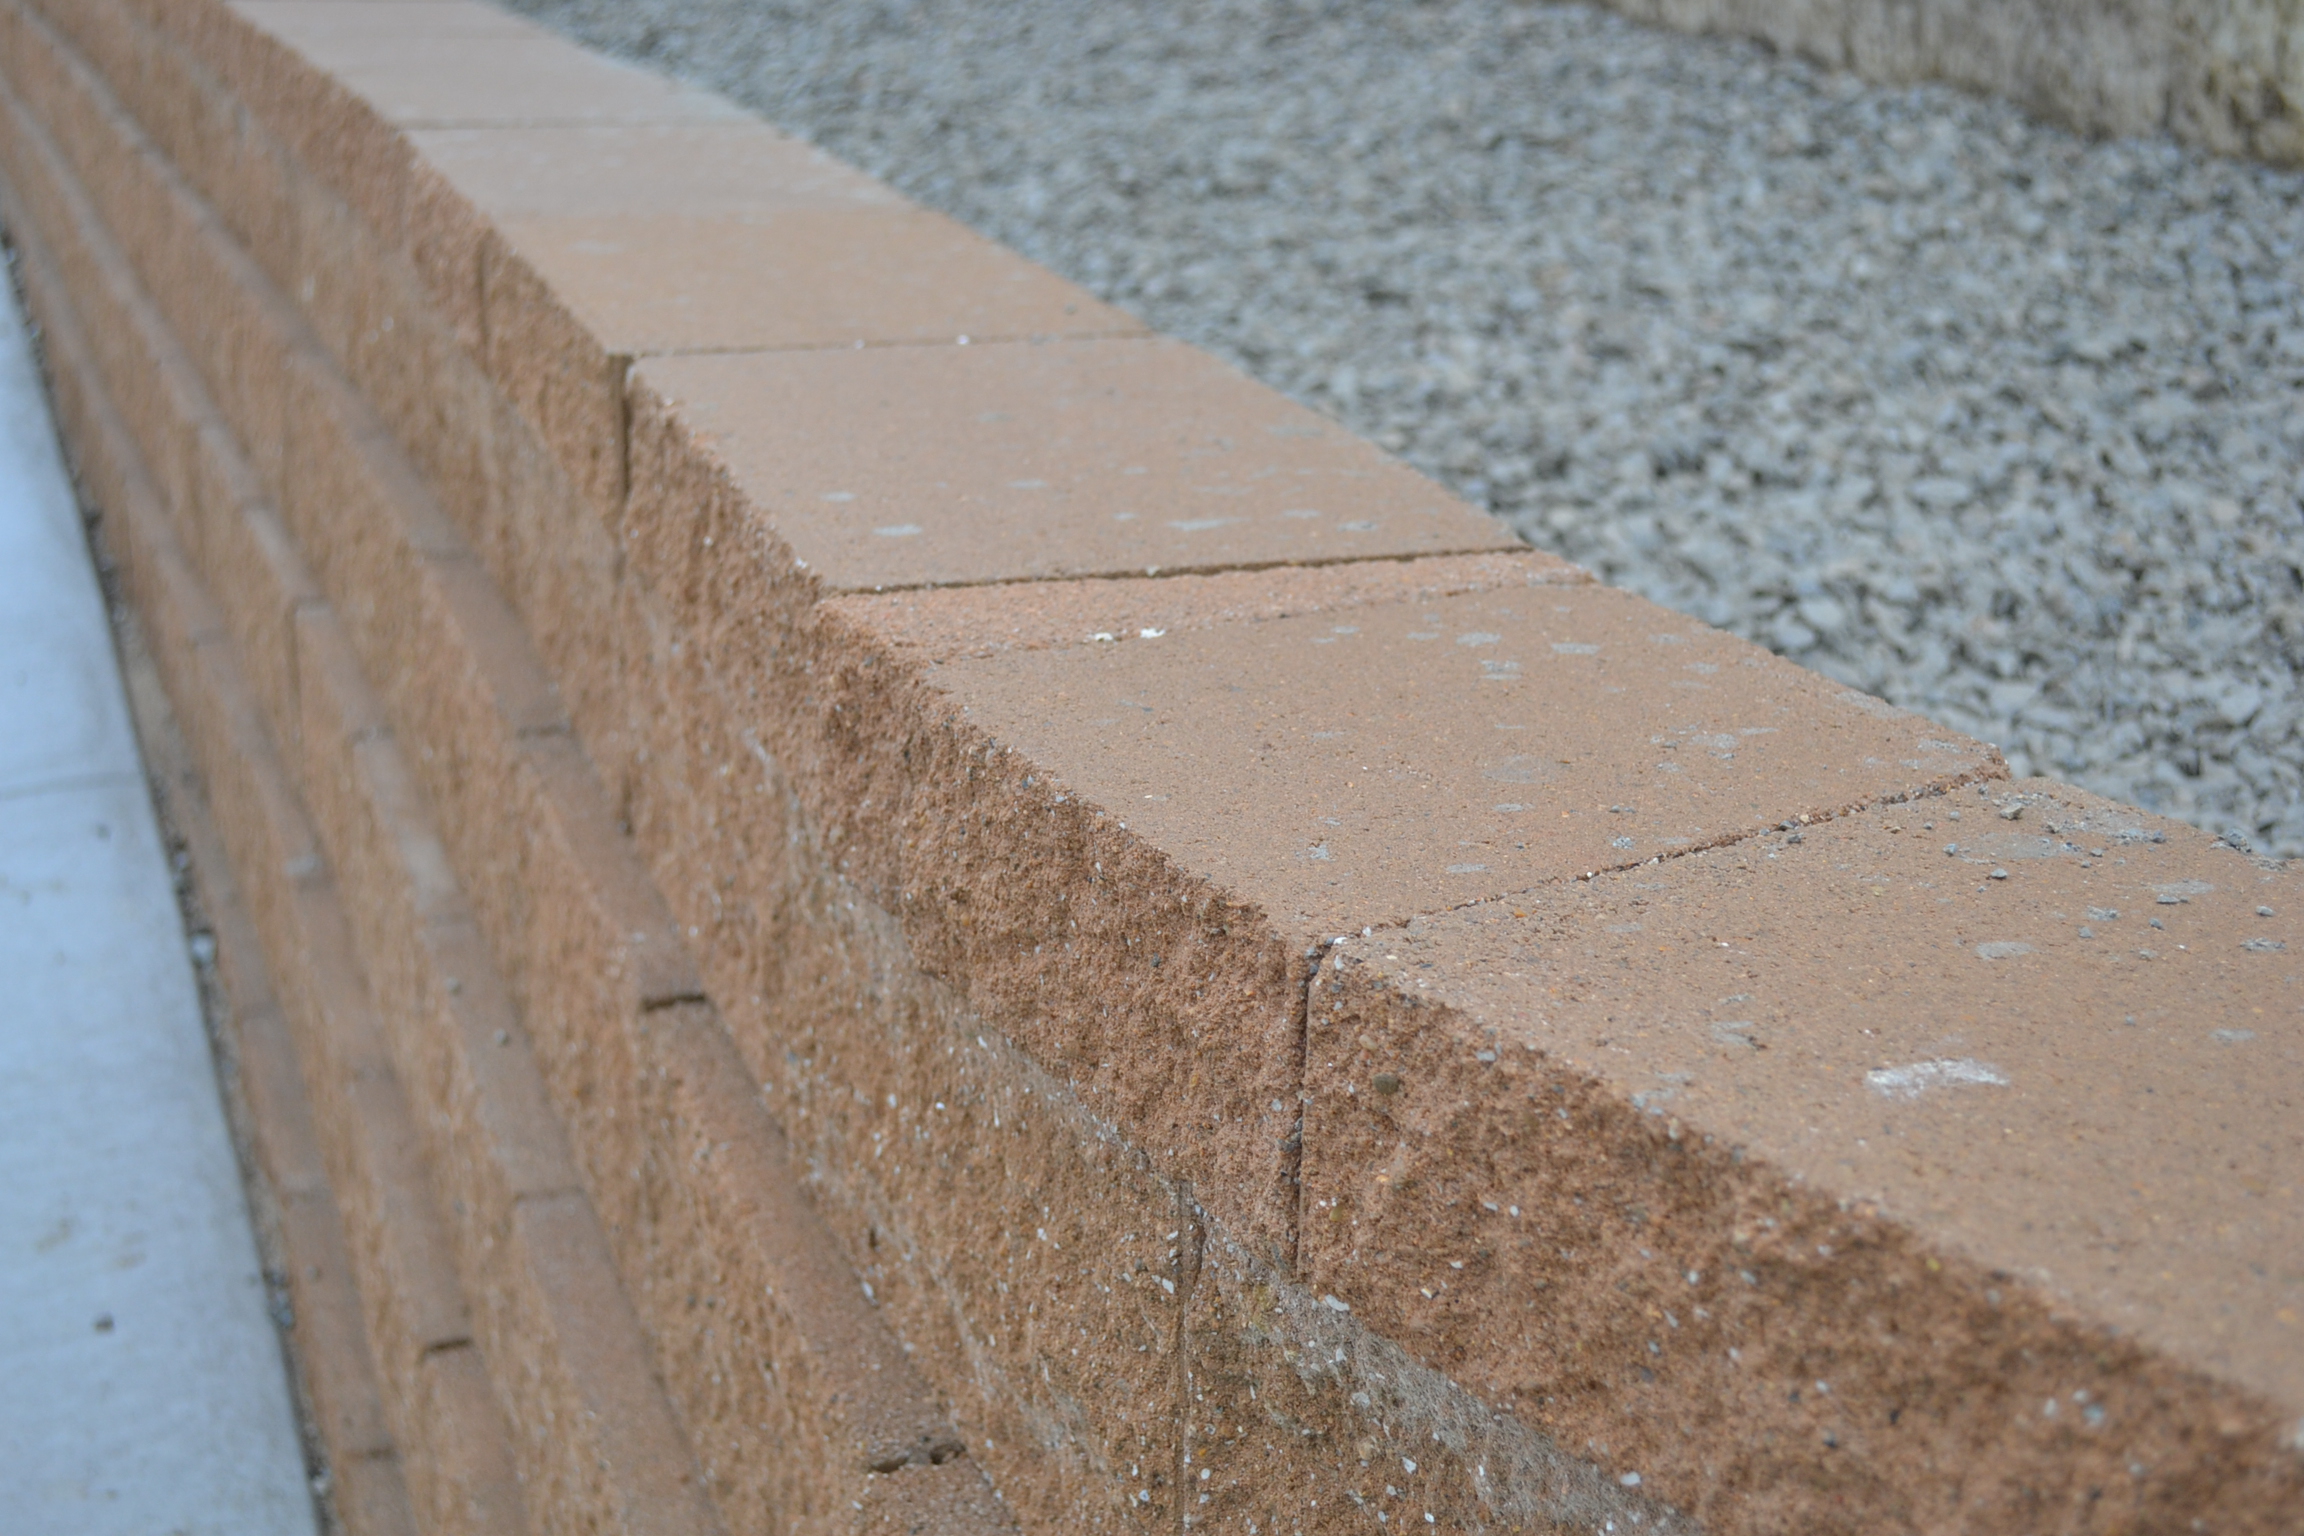
Most retaining wall caps are lip-less, which means they have a completely flat surface on both the top side and bottom side. There is no lip on one side of the block that off-sets the cap. The first thing to do is start capping one side of the wall. If you have a rough faced block (meaning that the finished side of the block is not smooth), you will want to re-create the rough side on the end cap. The way you do this is to take a chisel and score a line all the way around the block. This line should be about at least an inch away from the edge of the block so that it breaks off nicely. Then continue chiseling the line all around the perimeter of the block until the one inch side breaks off. Don’t chisel too hard, as this will keep your block from splitting evenly. This process can take five minutes, depending on the cap. Once the side breaks off, you should have a finished side to match the front of the block. This will be your first cap. Now start spacing your retaining wall cap evenly over the retaining wall block. You will need two drops of landscape adhesive to secure the cap to the top of the retaining wall block. These drops should be no larger than the size of a quarter. If you put too much adhesive on the wall it will spill out and make a mess. Once you install the adhesive, install your next block and firmly press down. Move the block back and forth when pressing down the block as this will spread the adhesive. Next center your block and continue installing retaining wall cap until you have reached the end of your wall. Once you have reached the end of your wall, you may need to chisel another block to create a finished edge.
Our blog on installing retaining wall cap around corners both rounded and squared.