How to properly install a Kings retaining wall.
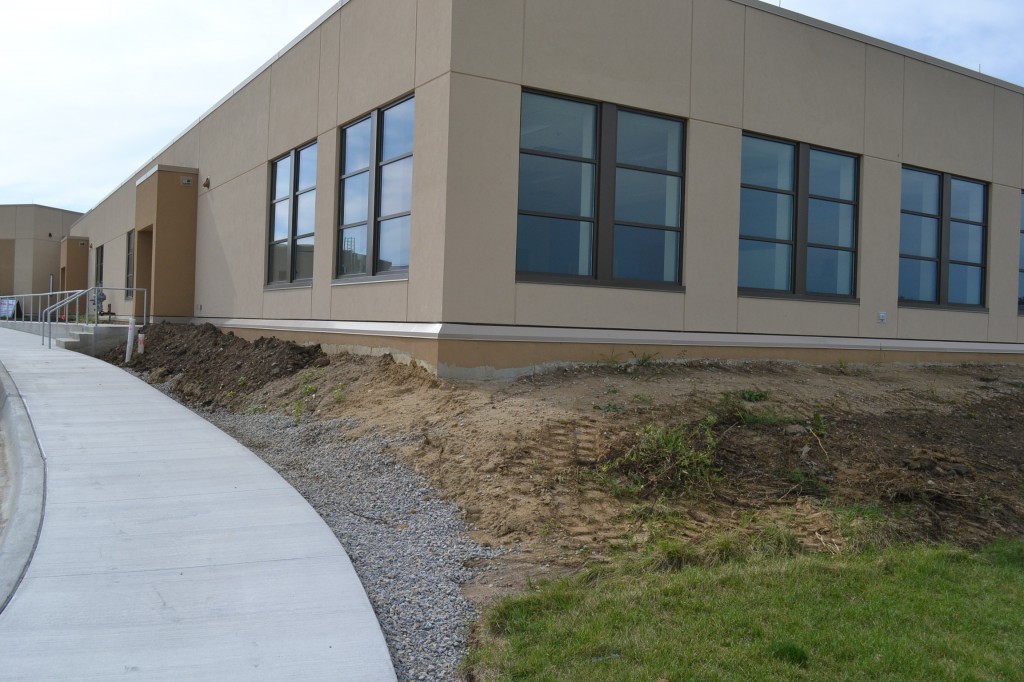
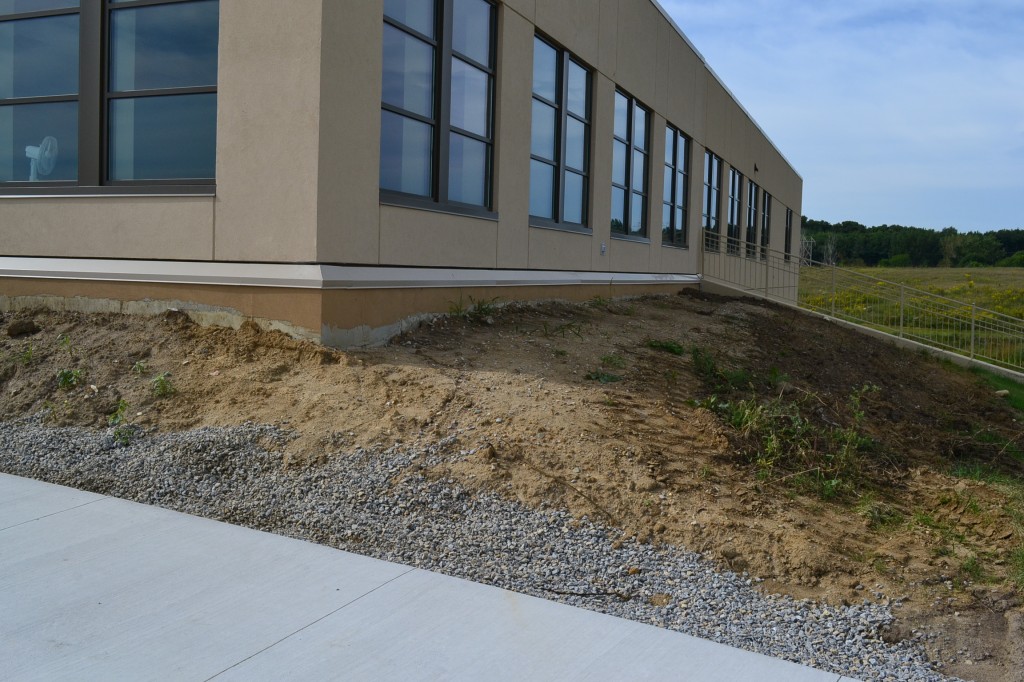
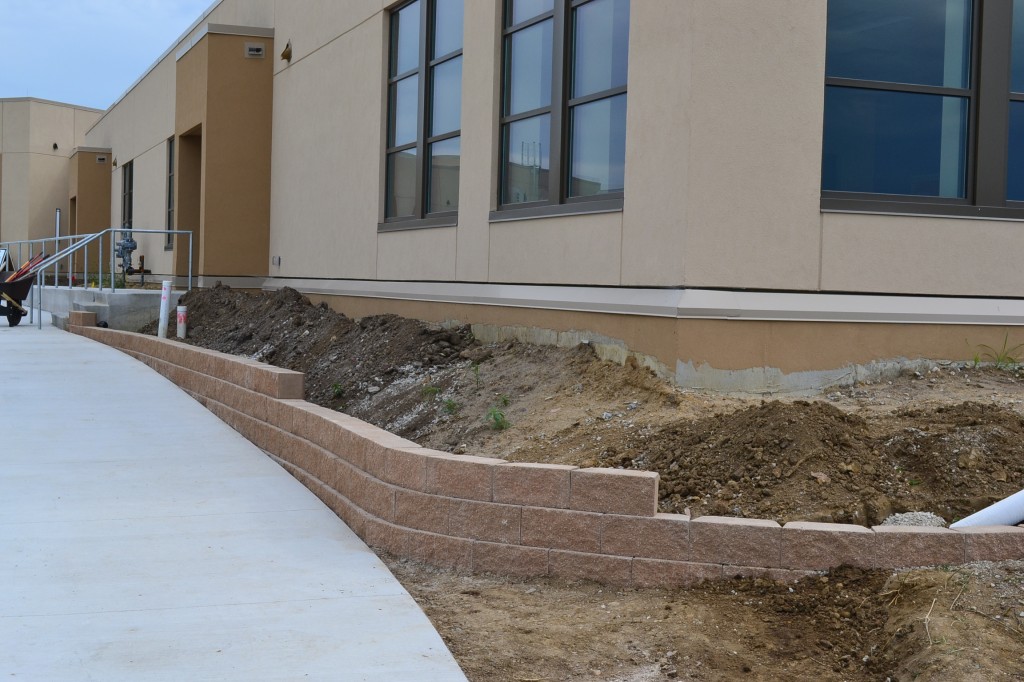
Excavate Your Site
Excavate the area where you are building your Kings retaining wall. You will need to bury your first-course of the block at the rate of 1″ to every course. Meaning if you wall is five courses high, you will need to bury five inches of the first block. You should install at least 1″ of 3/8 minus or 1″ minus base material for every course of retaining wall as well. You will need to excavate behind the retaining wall 2″ for every course high.
Cut Cement Over-Pours
If you are installing a Kings retaining wall near cement areas, you may have to trim over-pours to ensure a tight fit for your wall.

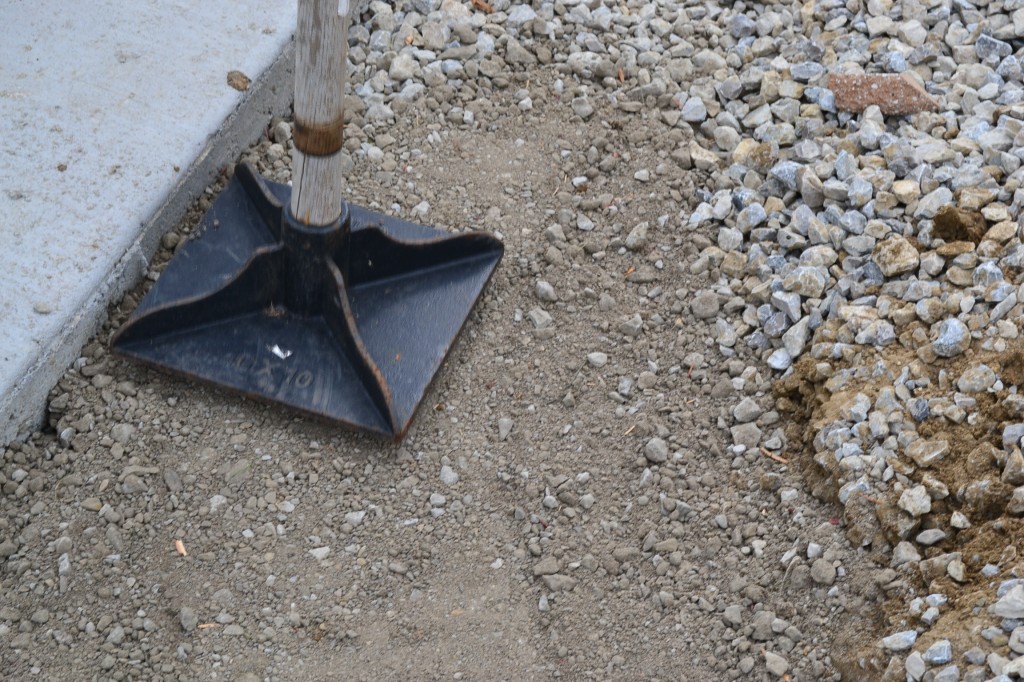
Install Base Material
Install the base material at the proper thickness for the height of your wall. Level out the base material and compact it to remove any air pockets. Compacting can be done with a hand tamper or vibrating packer plate. Depending on the height of your wall and the amount of base that you are using, hand tamping may not be a sufficient form of compaction.
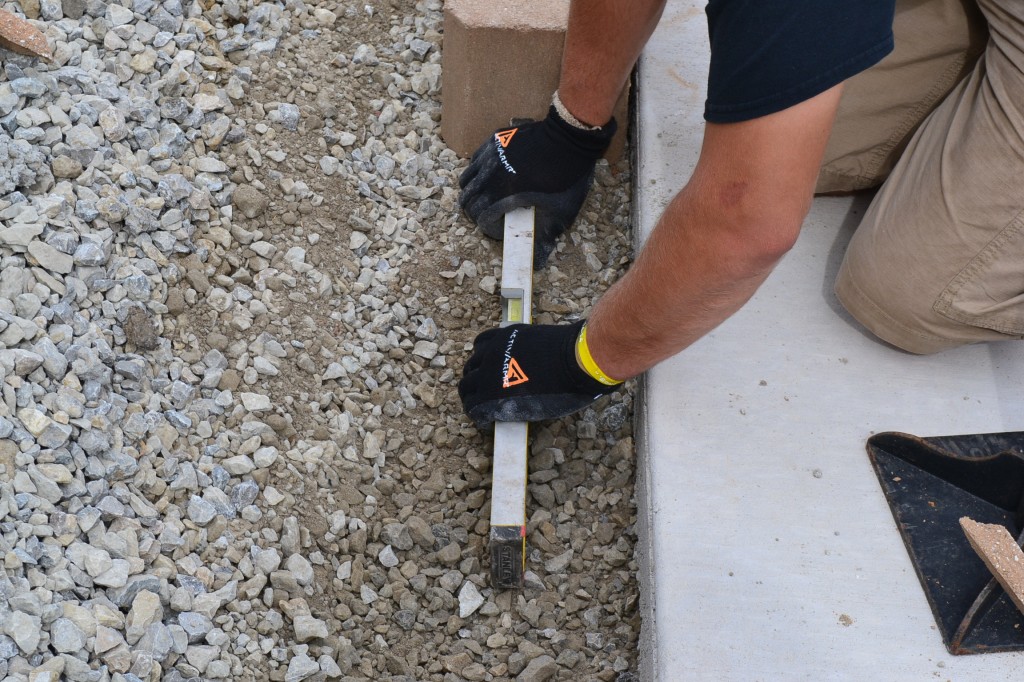
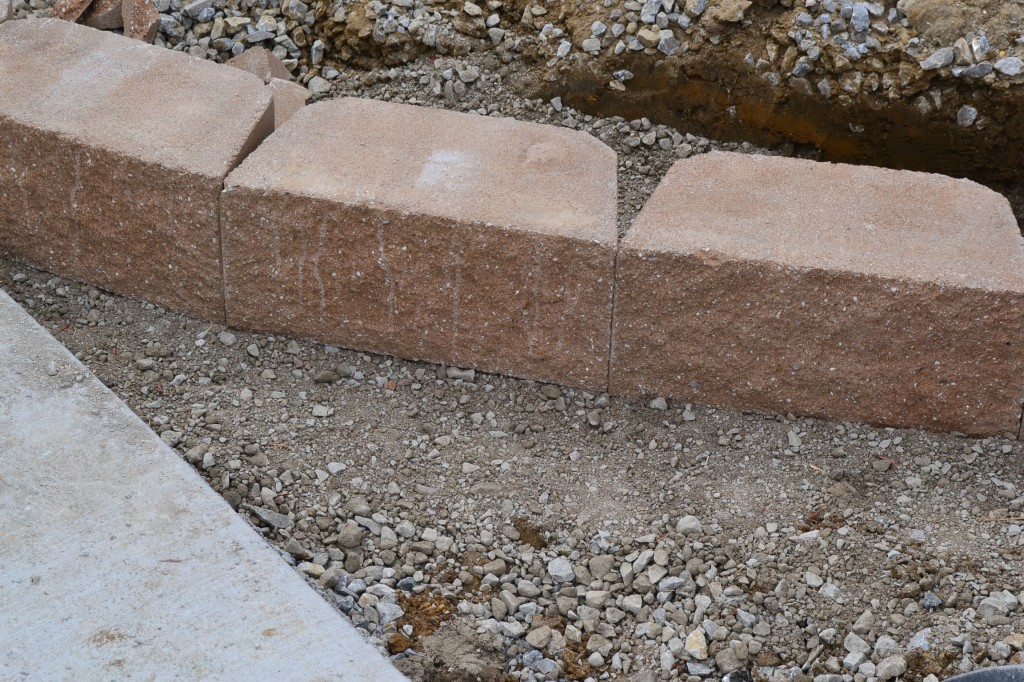
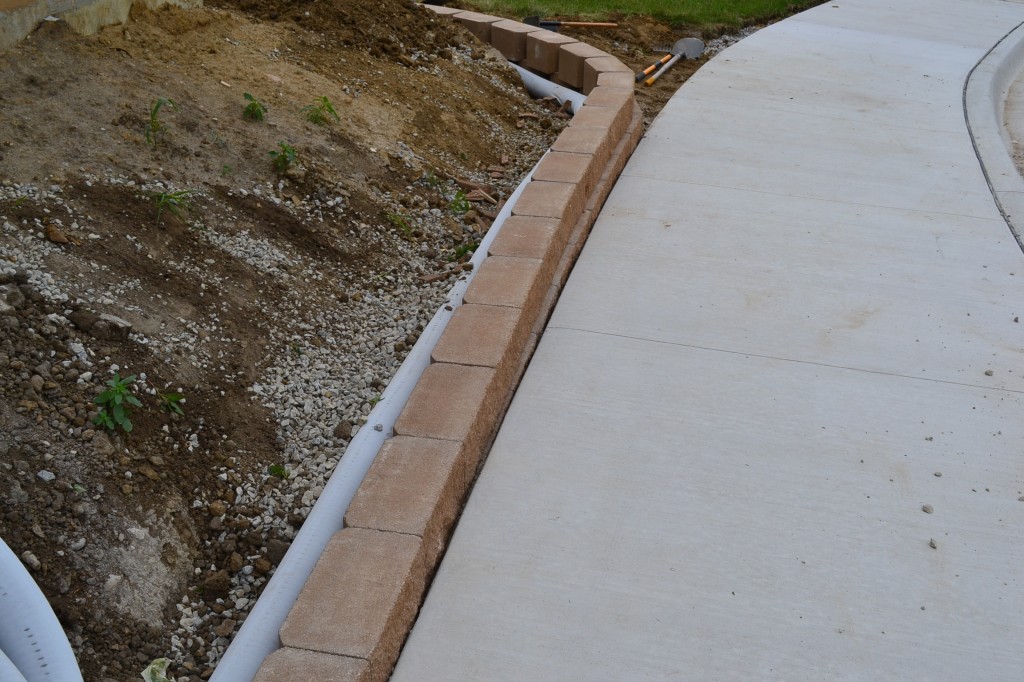
Set Your First Course
The first course is the most important in any retaining wall because it determines how the following courses will sit. You need to make sure that your first course is level from side to side and front to back. If you are off a little, it will show the higher your wall gets. When setting a straight wall, it is essential to use a string line. A string line will help make sure that your wall is not wavy. Curved walls will have to be measured and eyeballed for the correct curvature.

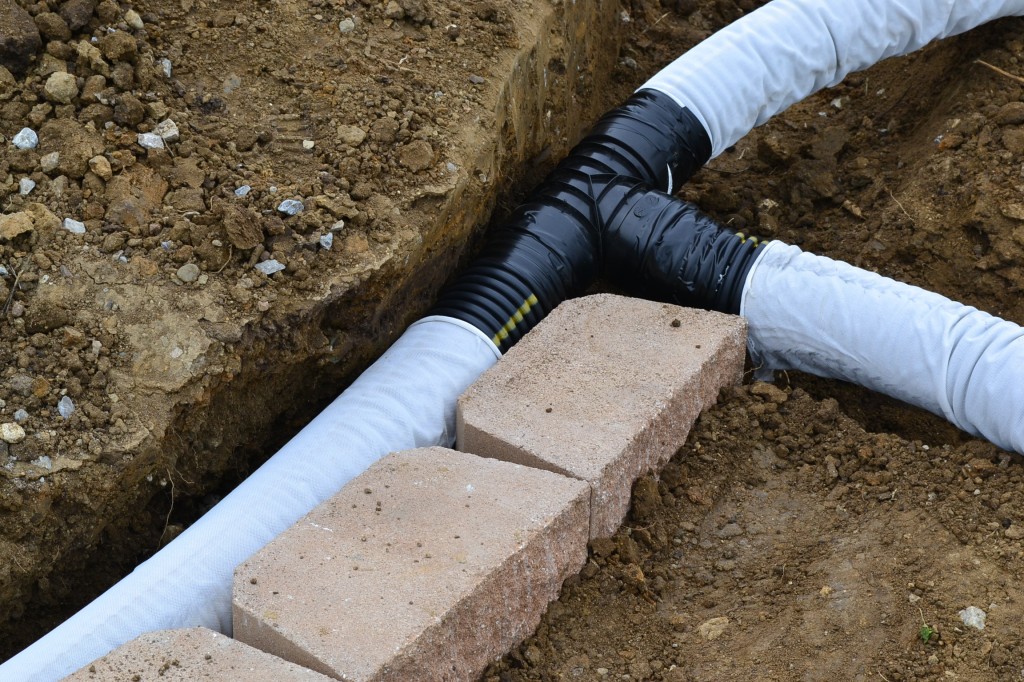
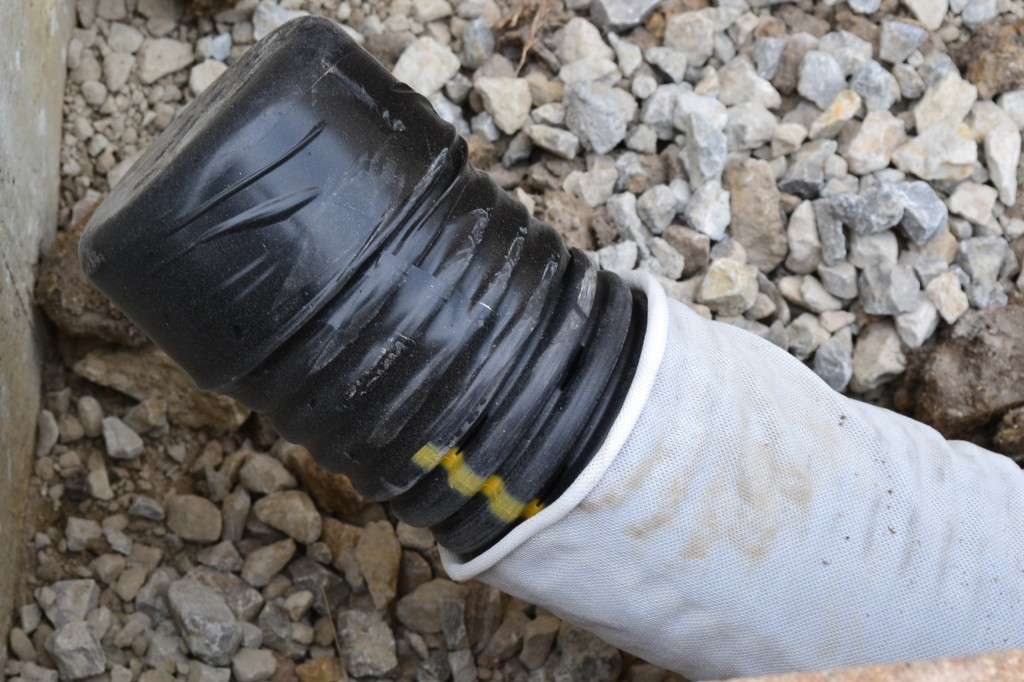
Install Drain Tile
It is essential to install perforated drain tile behind the back of your first course. The tile will reduce water pressure from behind the wall and help with run-off and drainage. Make sure that your tile has a drop to it so that the collected water drains out. Using a drain sock is vital because it keeps dirt from entering the tile and clogging it up. Make sure to install a cap on the ends of your tile to keep dirt out as well. The tile will need a drainage point so that the water can exit the tile. Make sure that the exit point is open and sticks out from the wall. If your exit point is hindered, water will not drain properly and cause your wall to fail.
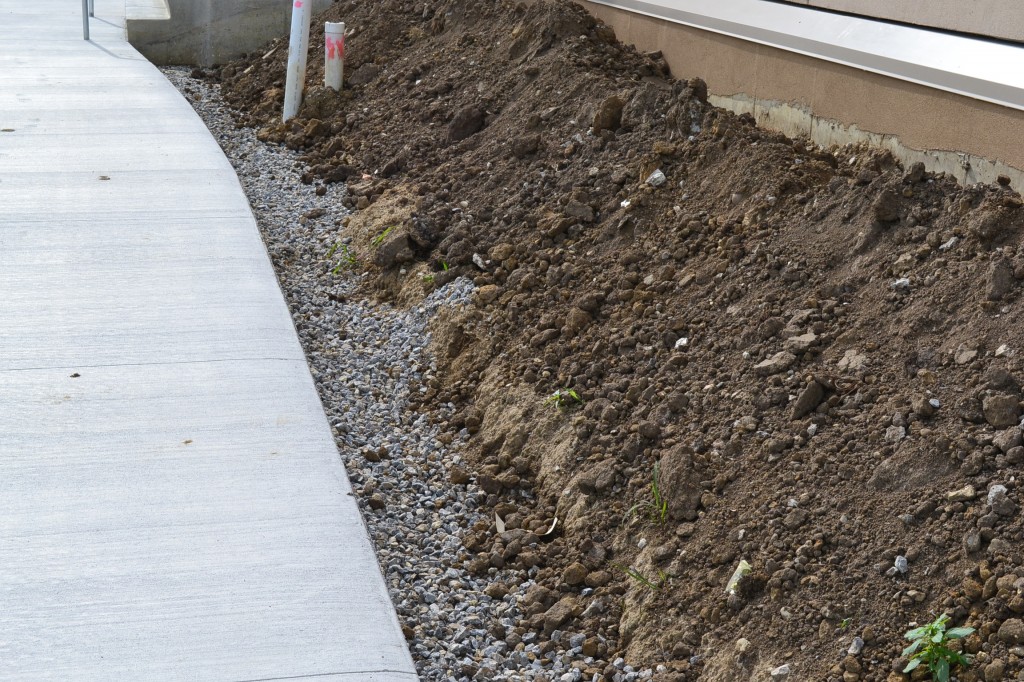
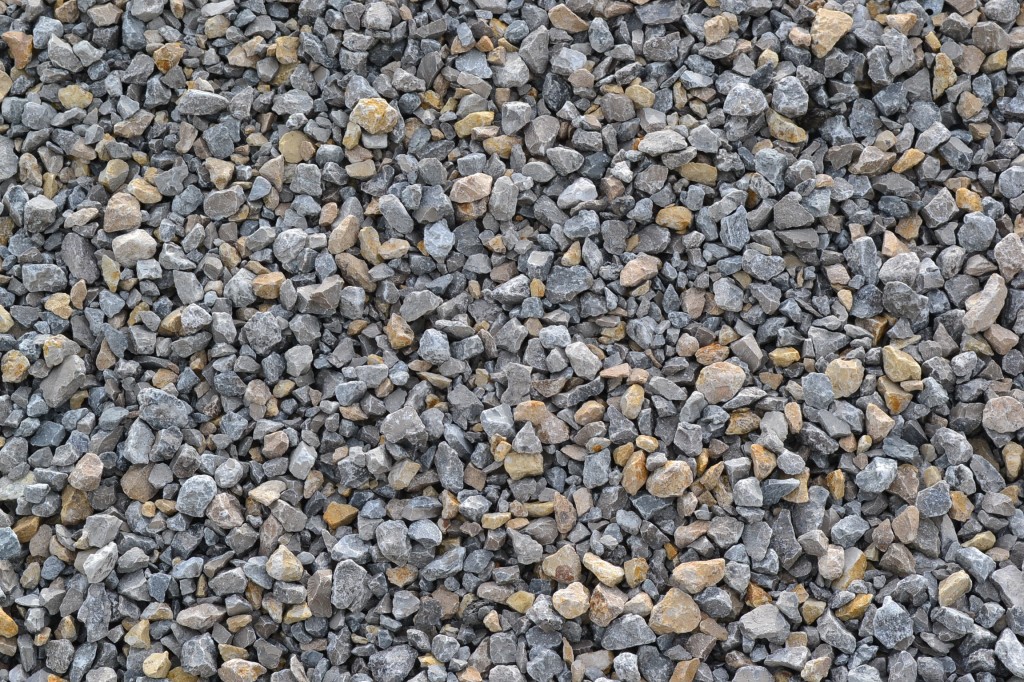
Install 1″ Clean Rock
Install 1″ clean rock behind your wall to help with water drainage. After each course of the wall is stacked, install another layer of 1″ clean rock behind your wall. Compact each layer to ensure that all air pockets are out. Adding rock behind the retaining wall after each course will help stabilize the wall as it gets higher. You must use clean rock for this step. Clean rock allows water to pass through it down to the drain tile. If you use rock that has multiple consistencies such as base material, it will not let water pass through correctly. This can cause your wall to fail. Do not use river rock or smooth rock products as they will not pack properly. Smooth products will wash out and destabilize.
Set Your Second Course
Stack your second course on top of your first course. Off-set your blocks from the previous course to form a brick-like consistency.
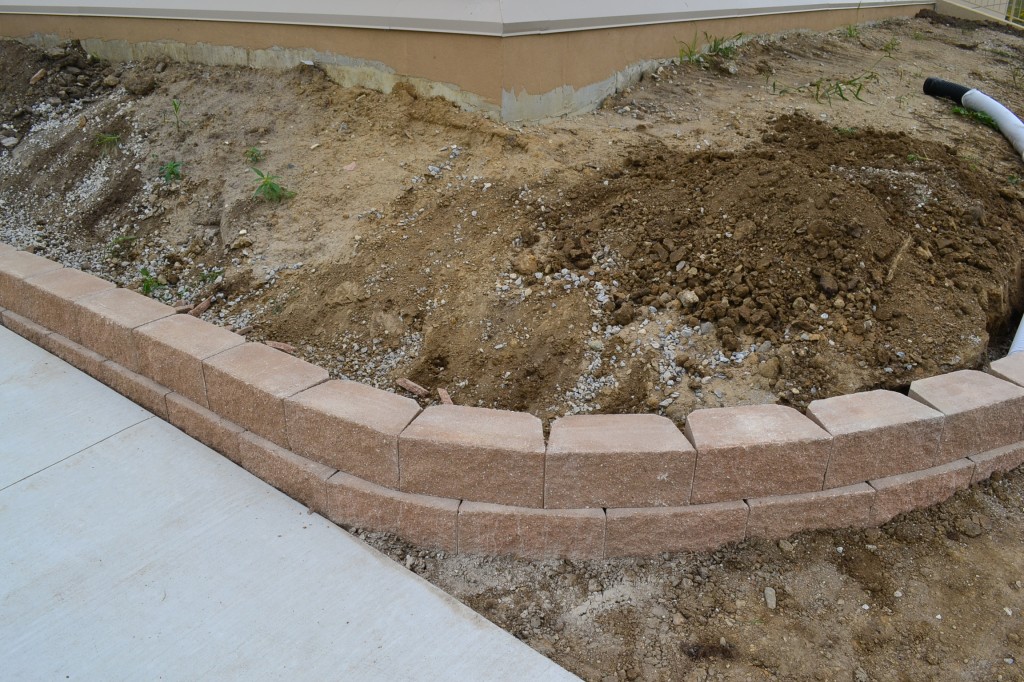
Set Your Third Course
Set your third course so that your seams match the seams on your first course. If you are installing a wall with a corner, your seams may not line up when your wall gets tighter. On straight shots, your wall seams should line up every other course. Continue this process for the remaining courses of your wall.
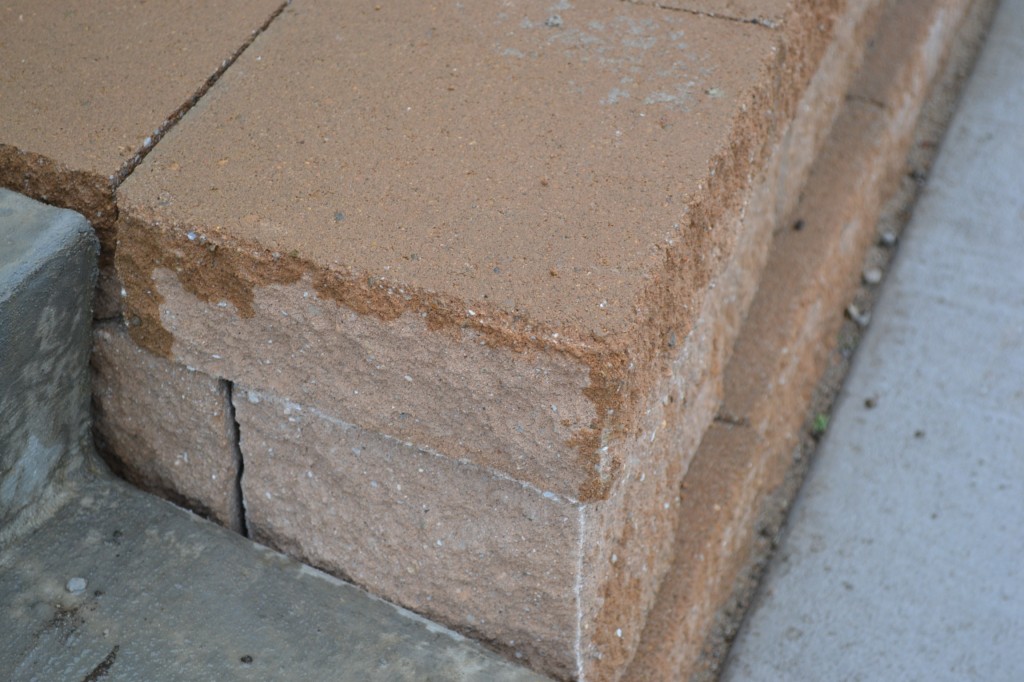
Finishing Your Corner Blocks
If your wall runs into the grade of your project, then you don’t need to create a finished corner. If you are ending your wall with the end exposed, you will need to create a finished end by breaking a section off. Breaking off a section will give you a rough end that matches the front of the Kings retaining wall block.
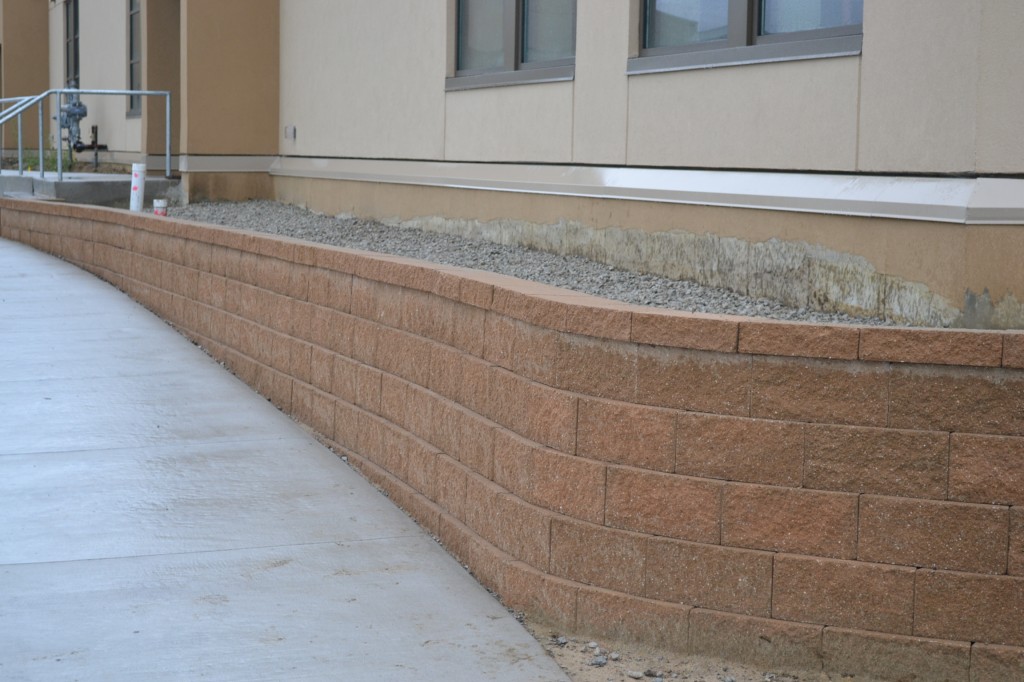
Installing a Cap on Your Kings Retaining Wall
Most retaining wall cap will need to be glued on to your top retaining wall block. You need to use landscape adhesive because it is designed to adhere one concrete surface to another. Other products will not work correctly.
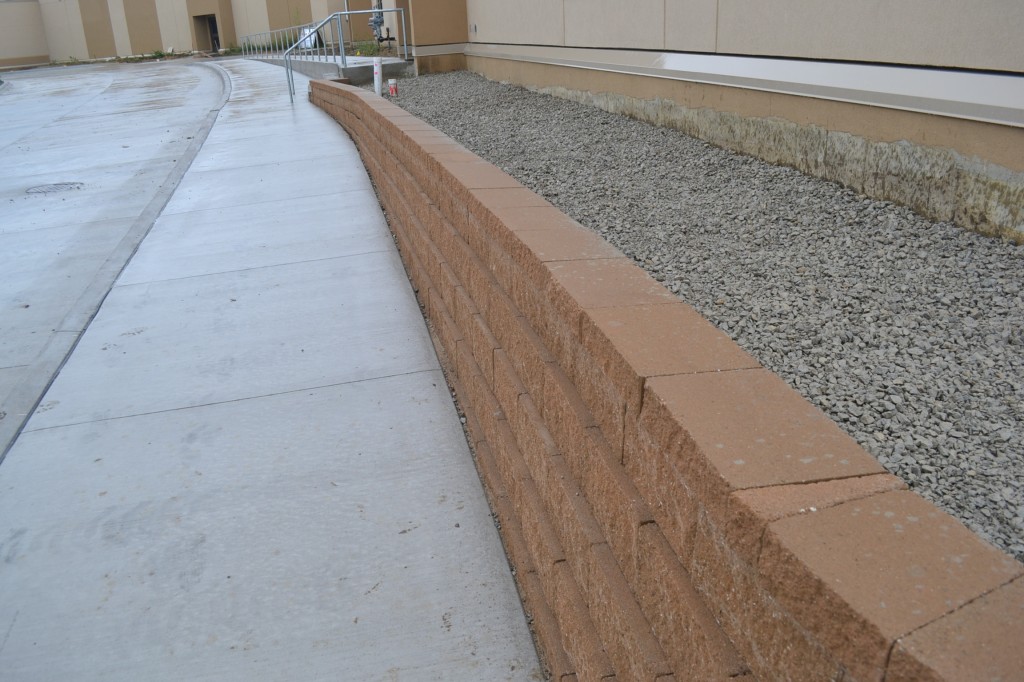
Finished Project